Electronic Design and Family Site
A new method for Making Electronic Device Faceplates
I’ve learned a great way to make custom faceplates for my projects…homemade waterproof stickers! By making your own sticker and placing it onto a rigid "substrate", you can make the faceplate any color you want, with any fonts you want and any scale gradations you want.
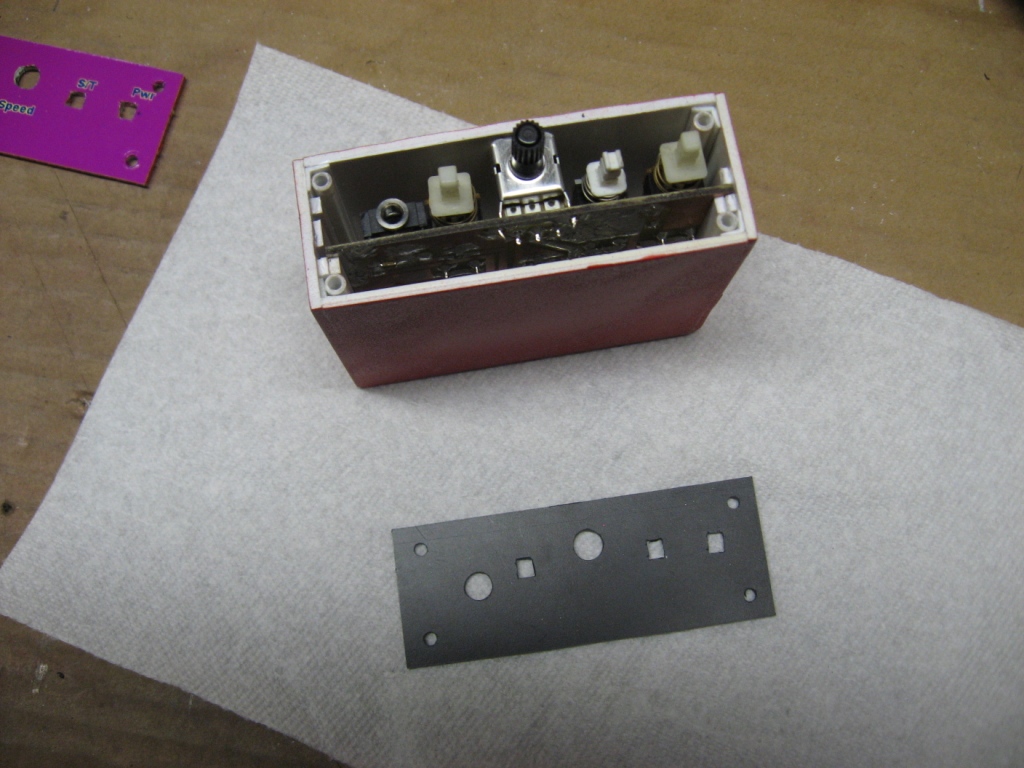
The process begins by making the substrate. Since the sticker is similar to paper, you need something stiff to mount the sticker against. I typically use FR-4 or aluminum and cut out for all controls. It may take a few tries before you get the substrate drilled and cut to exactly match your equipment. Be patient and do it as well as you can. The "sticker" will cover some mistakes, but the better the substrate, the better the final faceplate.
Then, place the substrate on a scanner and make an exact copy of the substrate's outline and control placement. This provides a template against which you can make as many versions of your artwork as you need. If something is wrong with this template, every version of artwork you make using it will be wrong, so ensure it is an exact fit to your substrate.
Once you have a scanned image, place it into a graphics program to make the artwork that will eventually be the final faceplate. I prefer the free program Gnu Image Manipulation Program, GIMP.
Place tiny crosses “+” on the center of all cutouts for controls where they will protrude. If you place an actual outline of the control, and it isn’t perfectly lined up, you will see some of that outline on the finished product. Using tiny crosses, if you’re off a little, it won’t matter; you'll be cutting it out anyway.
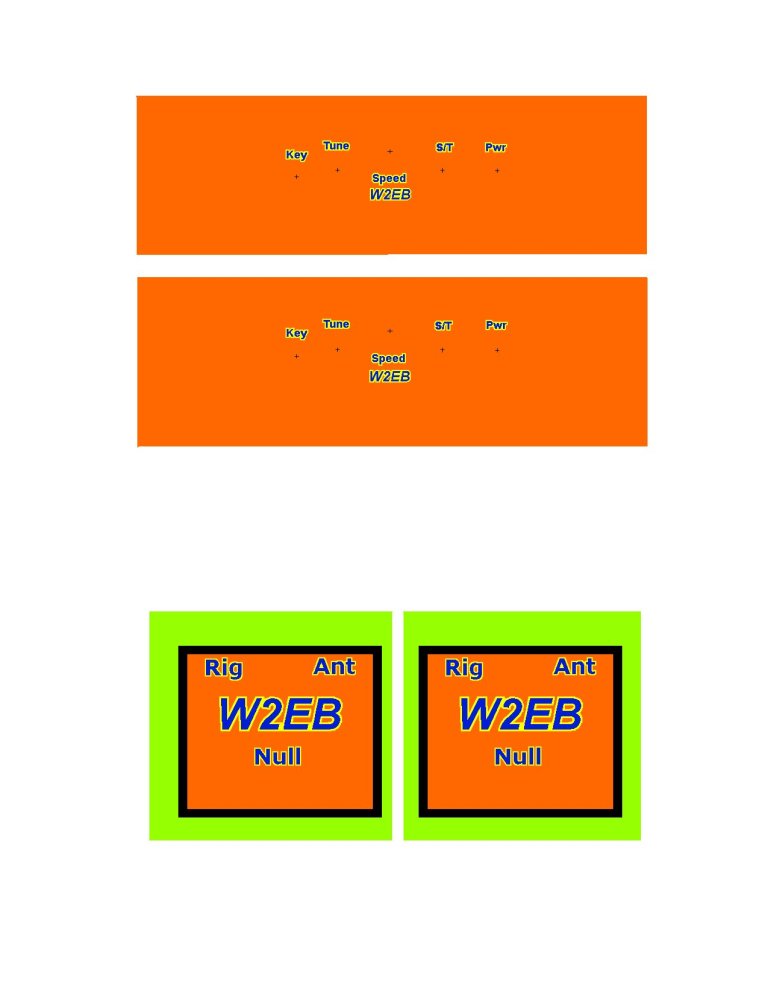
Fill the field of the face with whatever color you like. I've used solid colors, gradients, and even my callsign very faintly in the background. Words typically look smaller on the faceplate than they do on the computer screen, so make your control names large and bold.
Periodically print your work in black and white on thin paper. Place that thin sheet over the substrate and shine light through it from underneath to ensure everything lines up as you expect. Make sure you print 100% without “Fit to Page” or any other automatic resizers turned on. This will give you an idea of how your artwork will look when placed into its final position.
Once you verify the fit, it’s time to make the actual sticker. You've gone through this painstaking preparation work primarily because the sticker paper is expensive…as much as $2 per page depending on the quantity you buy.
I use Graytex waterproof Ink-Jet adhesive-backed paper. This paper ages well (a different one I’ve used cracked over time), doesn’t yellow, adheres well, and holds ink very well. This paper is porous plastic so it captures and retains the ink of your inkjet printer.
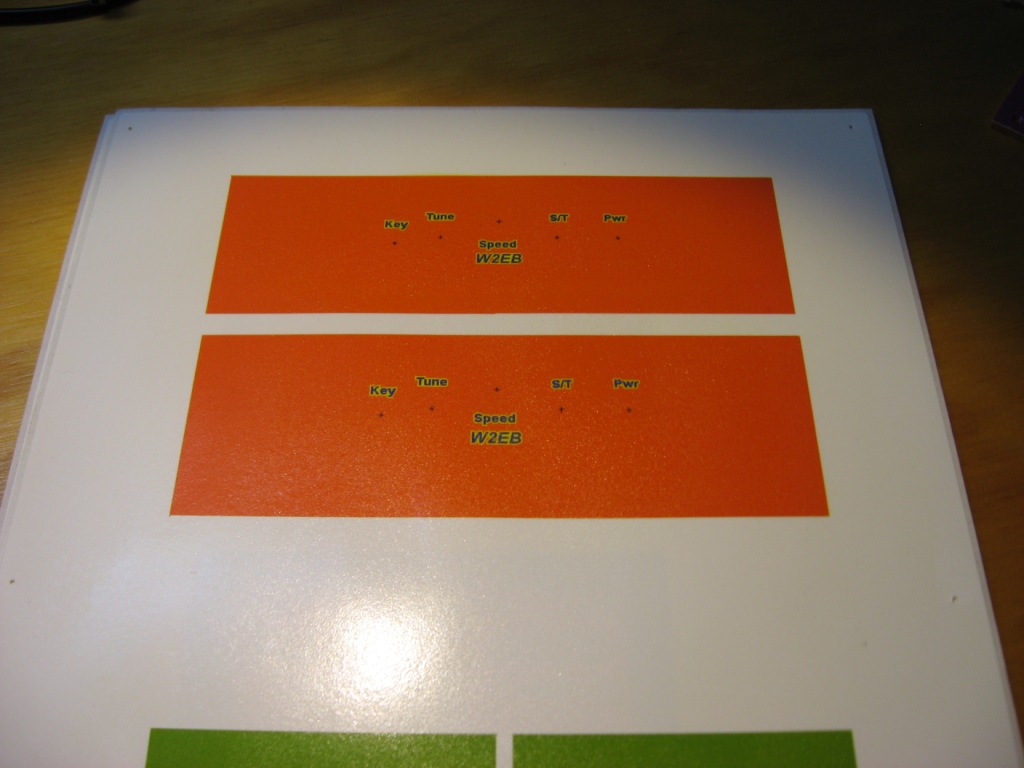
It's time to finally print your actual artwork... again, at 100%, no resizing or auto-fit, but use color this time. Use an inkjet printer. Be sure you have the paper print-side surface up so the ink will print on the correct side. Print using the finest resolution your printer will print, and using "Photo" setting for maximum color intensity. My printer, when set to normal print, prints faded colors that look like pastel versions of what I intended. Only when I print using "Photo" do I get vivid colors. Once printed, set the print aside covered by a plain white piece of paper for a couple of hours to let the ink thoroughly dry.
When you're satisfied it's sufficiently dry, you must seal the ink into the paper. If you don't, high humidity of splashes of liquid on the faceplate could make the ink run.
Thumbtack the sticker to a piece of corrugated cardboard and spray with 3 or 4 coats of clear-coat. The thumb tacks will keep it from curling as the clear-coat dries. I use either lacquer, or gloss acrylic. Make the coats thin; it wants to run and drip. Let it dry overnight before using.
Once dry, cut the artwork to allow 3/8” to 1/2" excess on all edges.
The substrate should be very clean before you mount the sticker to it. I lightly sand it with scotch-brite or 600 grit sandpaper to flatten the faceplate (drilled holes tend to have a raised "ring" around their perimeter that will be noticeable under the sticker), then wipe it off with either 100% acetone (only use acetone for metal or FR-4 substrates, it will melt most plastics) or Isopropyl Alcohol to remove any grease and particulates.
Aligning the sticker with precision is quite tough; since the paper is very thick, you can’t simply lay it on the substrate and see light shining through it. If one edge of both the substrate and the sticker are well defined, for instance if you have an LCD on one edge, you can simply cut the sticker precisely and line it up with the corresponding edge on the substrate. That rarely happens though. More typical is that I need to use a hole punch and punch out a couple of the holes for controls on the sticker. Then, once I have peeled the paper off the back, I use those holes and their corresponding holes on the substrate to align it properly. If you can gurarantee the accuracy of one edge to the placement of the holes, cut along that edge and align it to its corresponding edge on teh substrate when adhering the sticker.
Some words of advice about placing this sticker on the substrate: I usually print two of the same faceplate on each sheet of waterproof paper to provide a duplicate in case one of trouble. If possible, stick the center down first and “roll” the sticker on toward the edges. This reduces bubbles. If you do get a bubble, try to "squeegee" it out toward the nearest edge or substrate opening using your finger or a soft cloth. Puncturing it with a pin or tip of a knife rarely looks good. If it wrinkles, give up and use the second one; you won’t be able to recover the wrinkled one.
Finally, you have the sticker mounted and it lines up pretty good. Get the sharpest, most pointed knife you can. Start by cutting the outer edges of the faceplate. Assuming your substrate edges are simply the unfinished edges of metal or FR-4, cut the sticker right at the edge. The knife blade and the substrate should act as scissors cutting the sticker between them. These straight edges are the easy cuts.
Controls can be done two ways depending on the size of the hole and the type of control: Either do the same type of cut by plunging the tip of the knife through the sticker and cutting using the substrate as one scissor blade and the knife as the other, or puncture the sticker near the center of the hole and force something cylindrical and tapered like a screwdriver, awl, hole punch, or even a sharpened pencil into the hole. The taper will force the sticker through the hole in the substrate and outward away from the center of the hole against the inner edges.
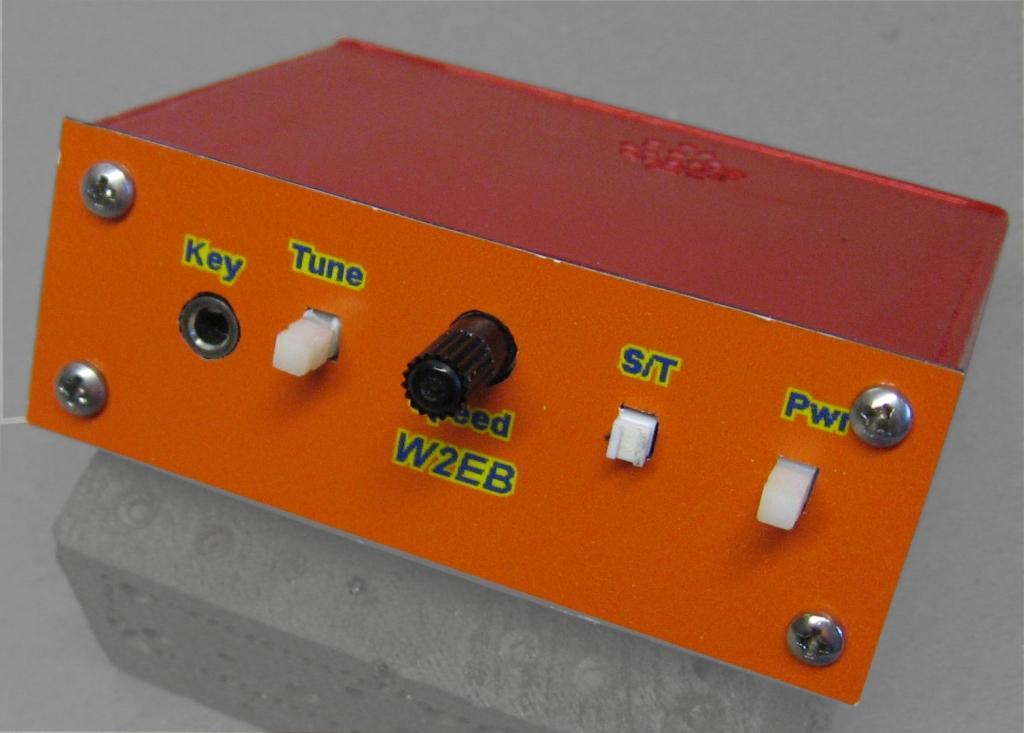
Control holes that will be covered by a washer and nut, for example the hole for a panel-mounted potentiometer, will look wonderful using this technique. If only a bare control protrudes through the hole, you may want to touch the raw edge of the sticker up with a similarly colored marker to hide the white of the paper. LCD cutouts will benefit greatly from a plastic bezel.