Electronic Design and Family Site
Sideswiper - Cootie
Morse Code Key
I mainly operate CW (Morse Code) when I get on the air as a Ham Radio operator. I typically use my computer to transmit perfect high-speed code for me, but occasionally like to send it the old-fashioned way; using a mechanical key. I have arthritis in my hands which makes transmitting this way a bit tough.
A solution to hand problems was developed nearly a century ago for people who transmitted morse code for a living: a Sideswiper. It is simply a code key where the switching action is side-to-side rather than up and down. Rather than closing a simple switch, the real improvement of a sideswiper is that it has 2 switches with a center "off" position and you can switch between them. In theory, making each character uses half the motion.
Very few companies make code keys any more, and those that do command a premium price for them. I wanted one quickly; I had a contest I wanted to use it for coming in less than a day. I am also too cheap to pay hundreds of dollars for 2 back-to-back switches (although, I find a polished brass key to be a thing of great beauty!), so me being me, I made my own instead!!
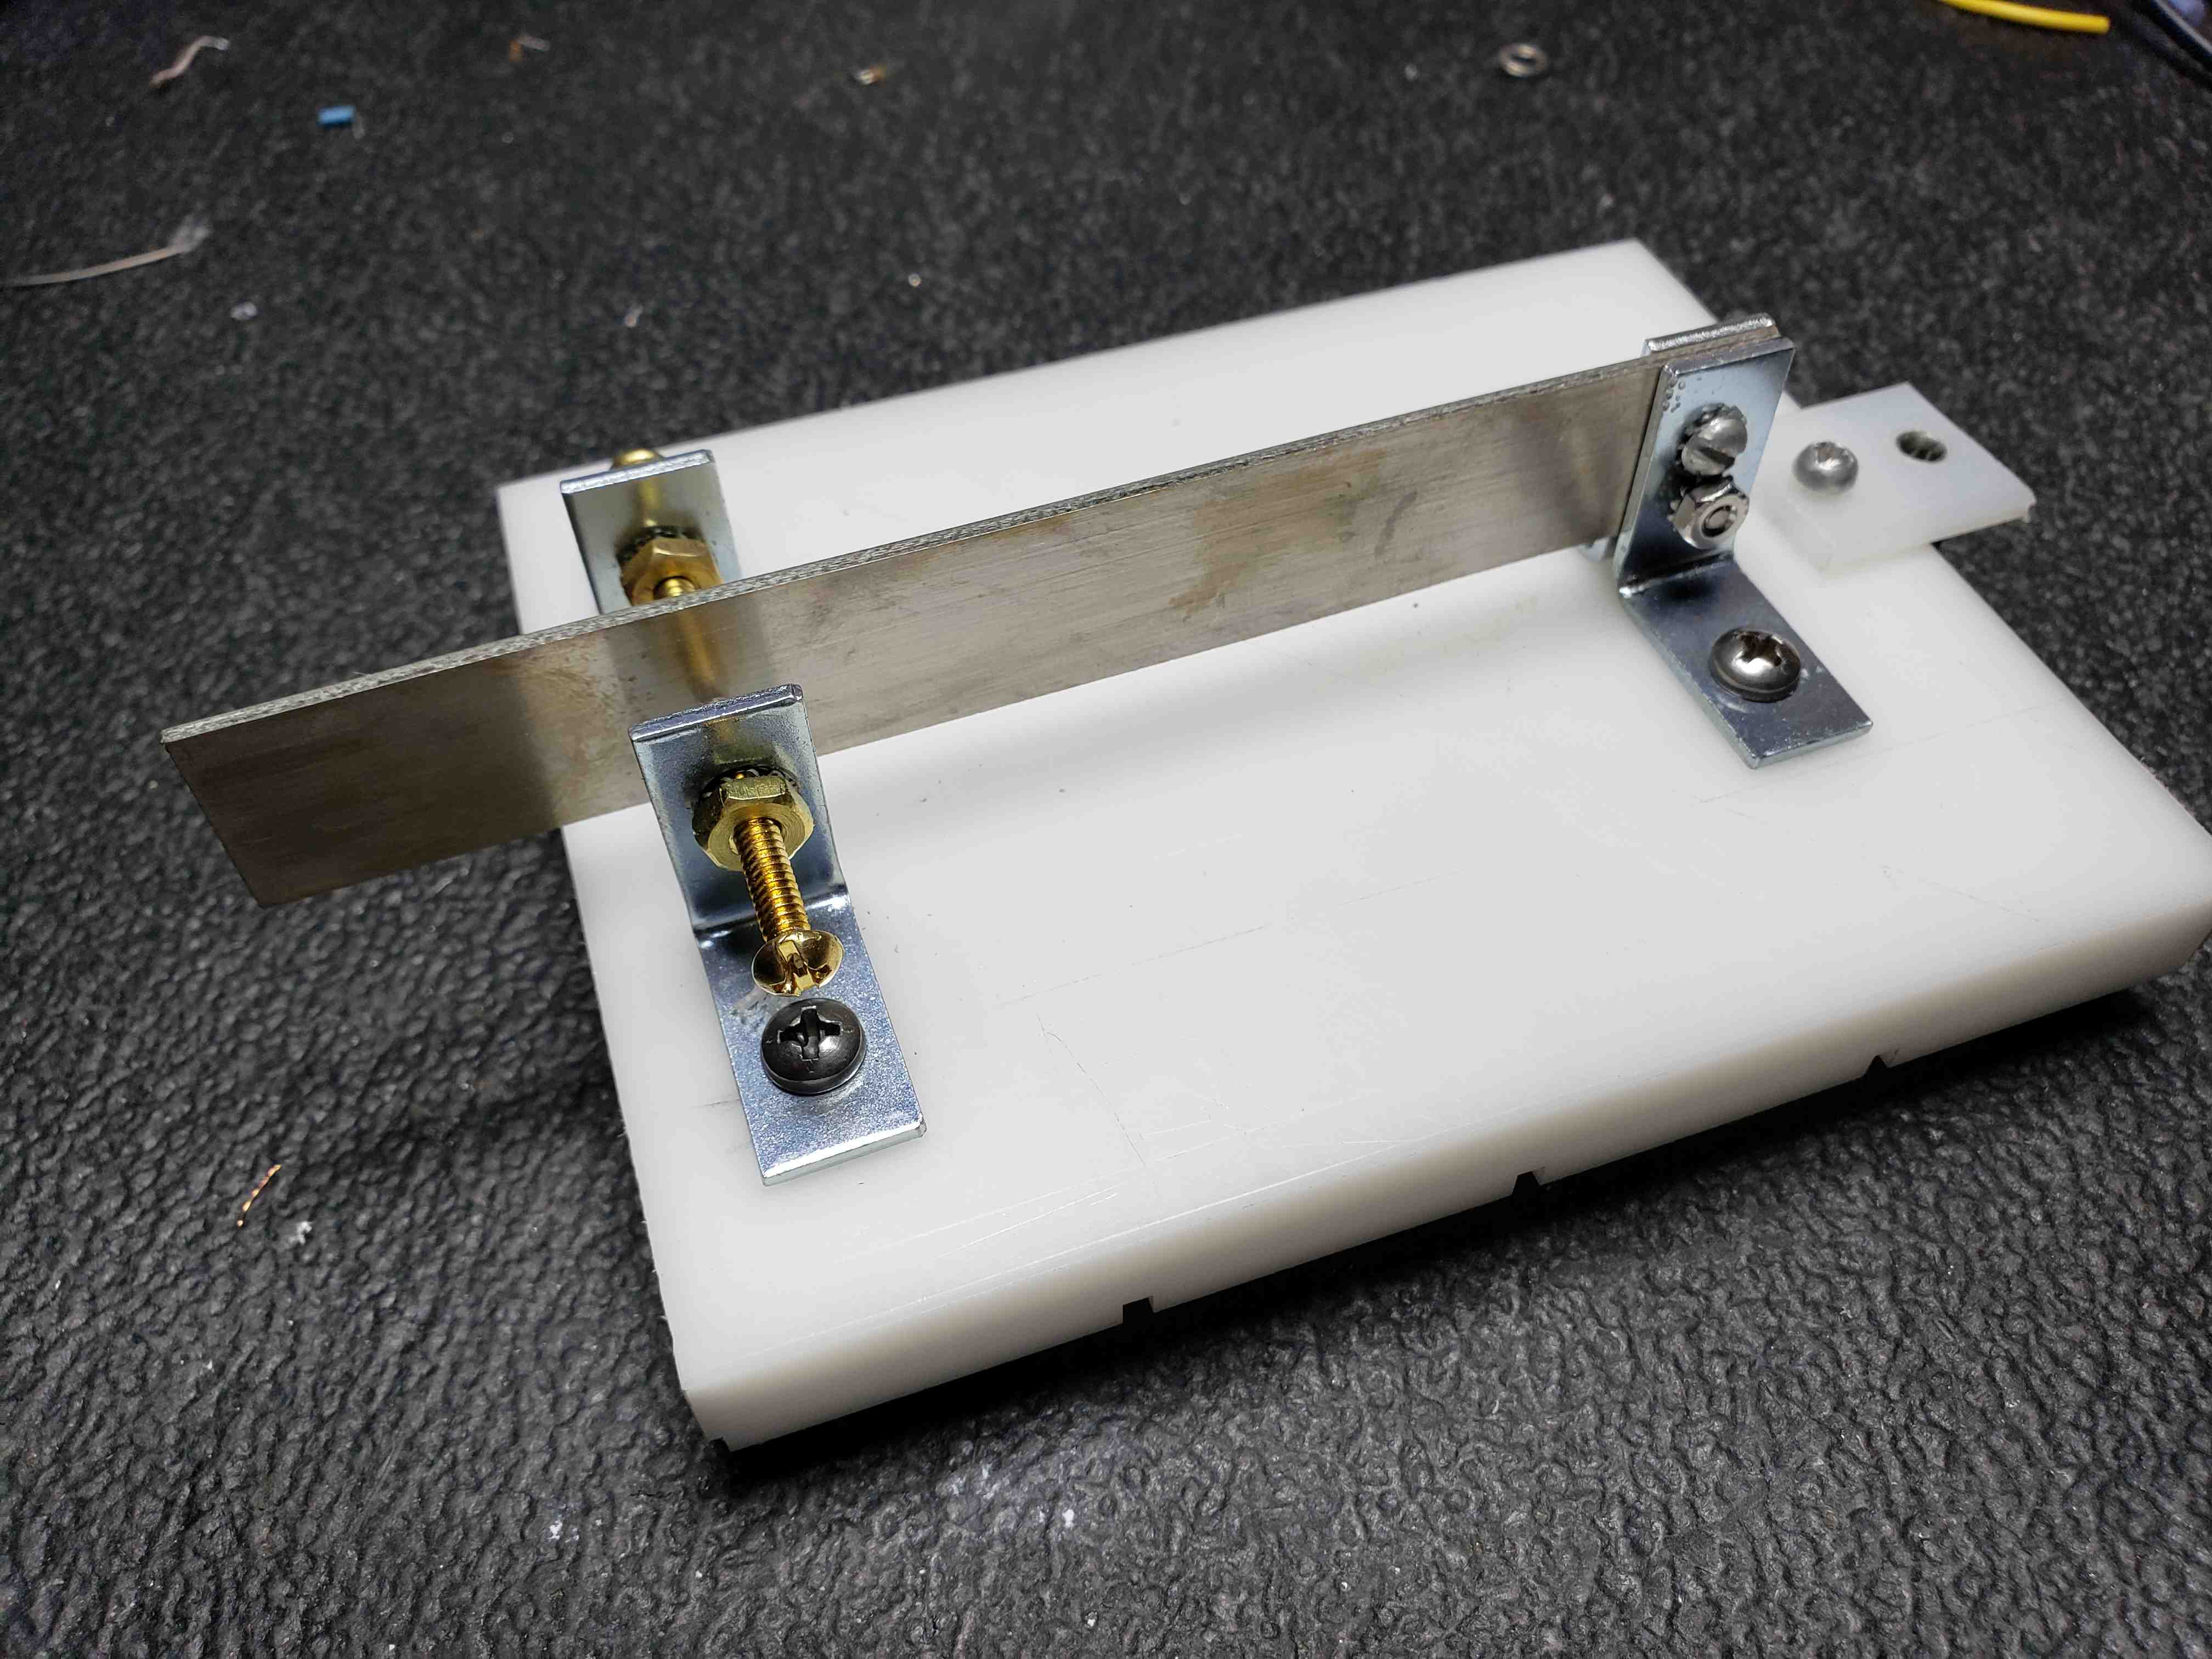
Below is the result.
I cut a block of plastic from some scrap. I then bought a 6-pack of 1" corner braces, a bag of 1" #6-32 brass screws, and a bag of 6-32 brass nuts from a local hardware store.
I cut a piece of double-sided FR-4 about the length of the base-plastic, clamped 2 of the braces back-to-back on one end, and drilled for hardware. I then assembled the paddle using stainless hardware. I noticed the paddle could "rock" in the braces, so I drilled a second hole and used #4 hardware to secure it.
I set this assembly on the base-plastic and marked & drilled holes to mount it. Once mounted, I moved the paddle side-to-side to determine the limits of travel and placed the contact braces 1/2" past those limits. I marked their holes and drilled. I then attached these braces with stainless hardware and attached the brass hardware.
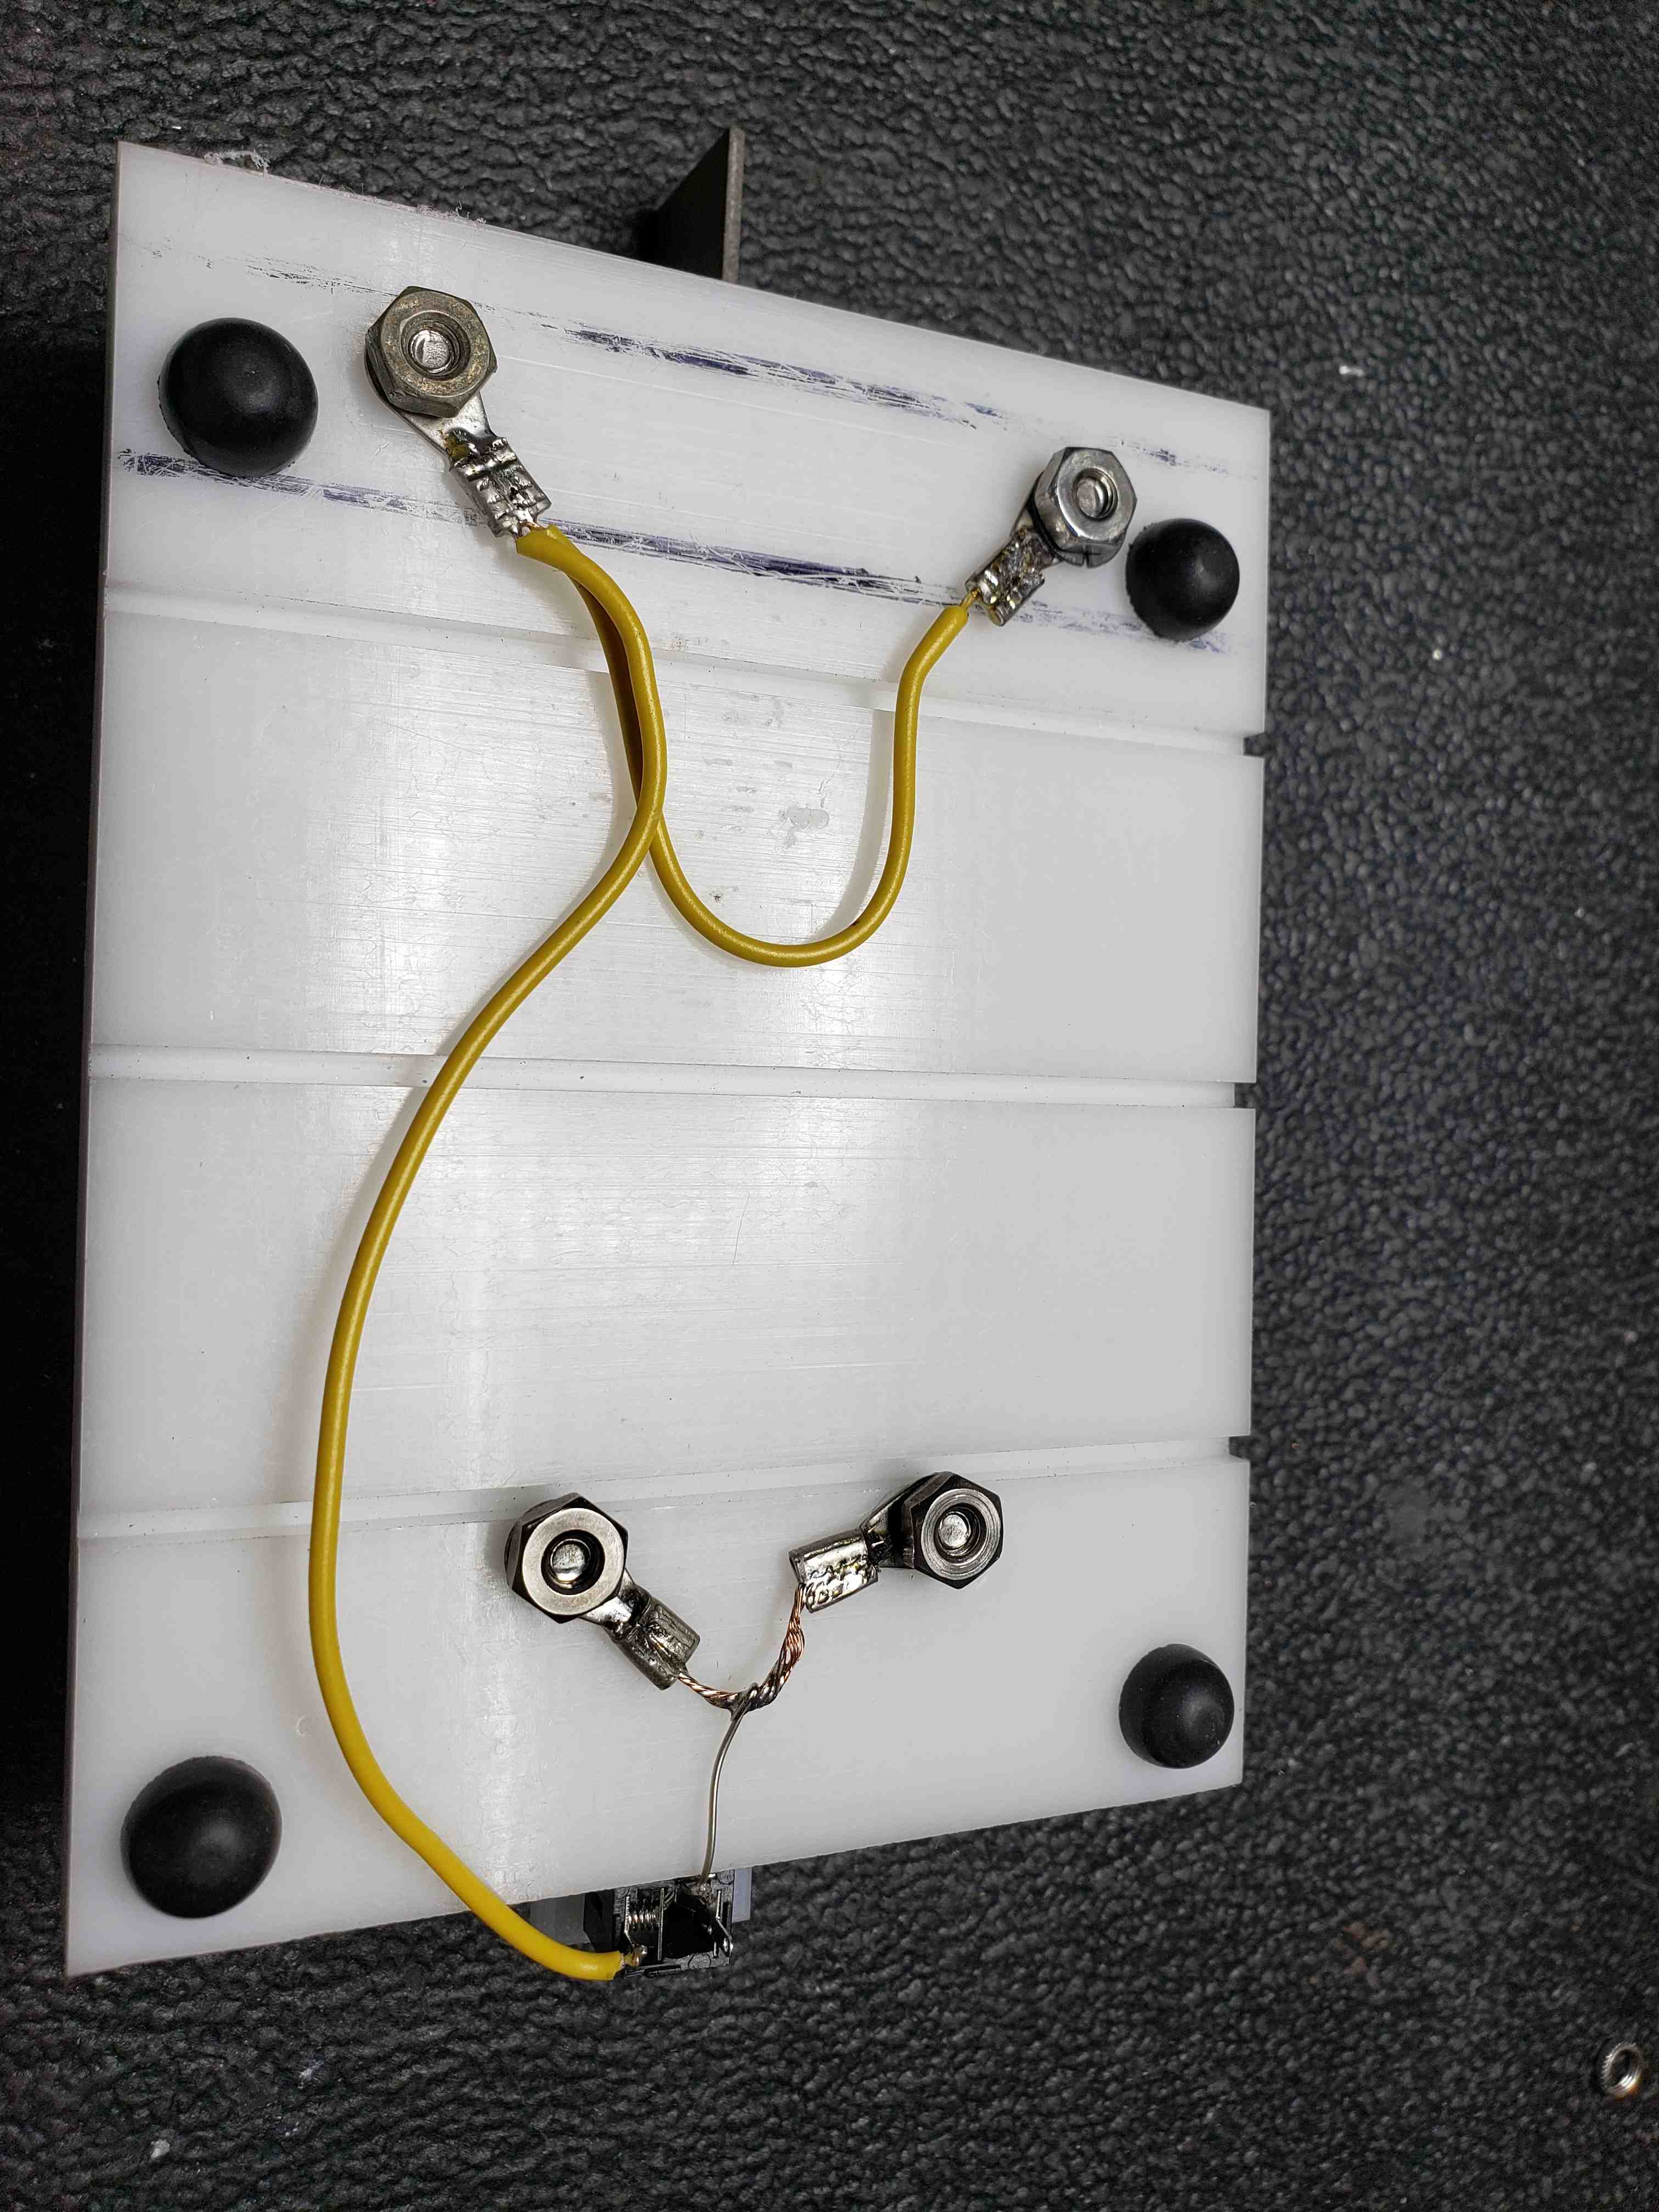
Once satisfied of the mechanical assembly, I removed each screw that penetrated the base-plastic, and added wires with crimp ring lugs between the various contacts.
I then cut a small (1" x 1") piece of 1/8" plastic and drilled 2 holes: 1 to attach it to the base-plastic, and one sized just perfectly to screw a 1/8" stereo panel-mount connector into it. I mounted this assembly to the rear of the base-plastic and wired the contacts to it.
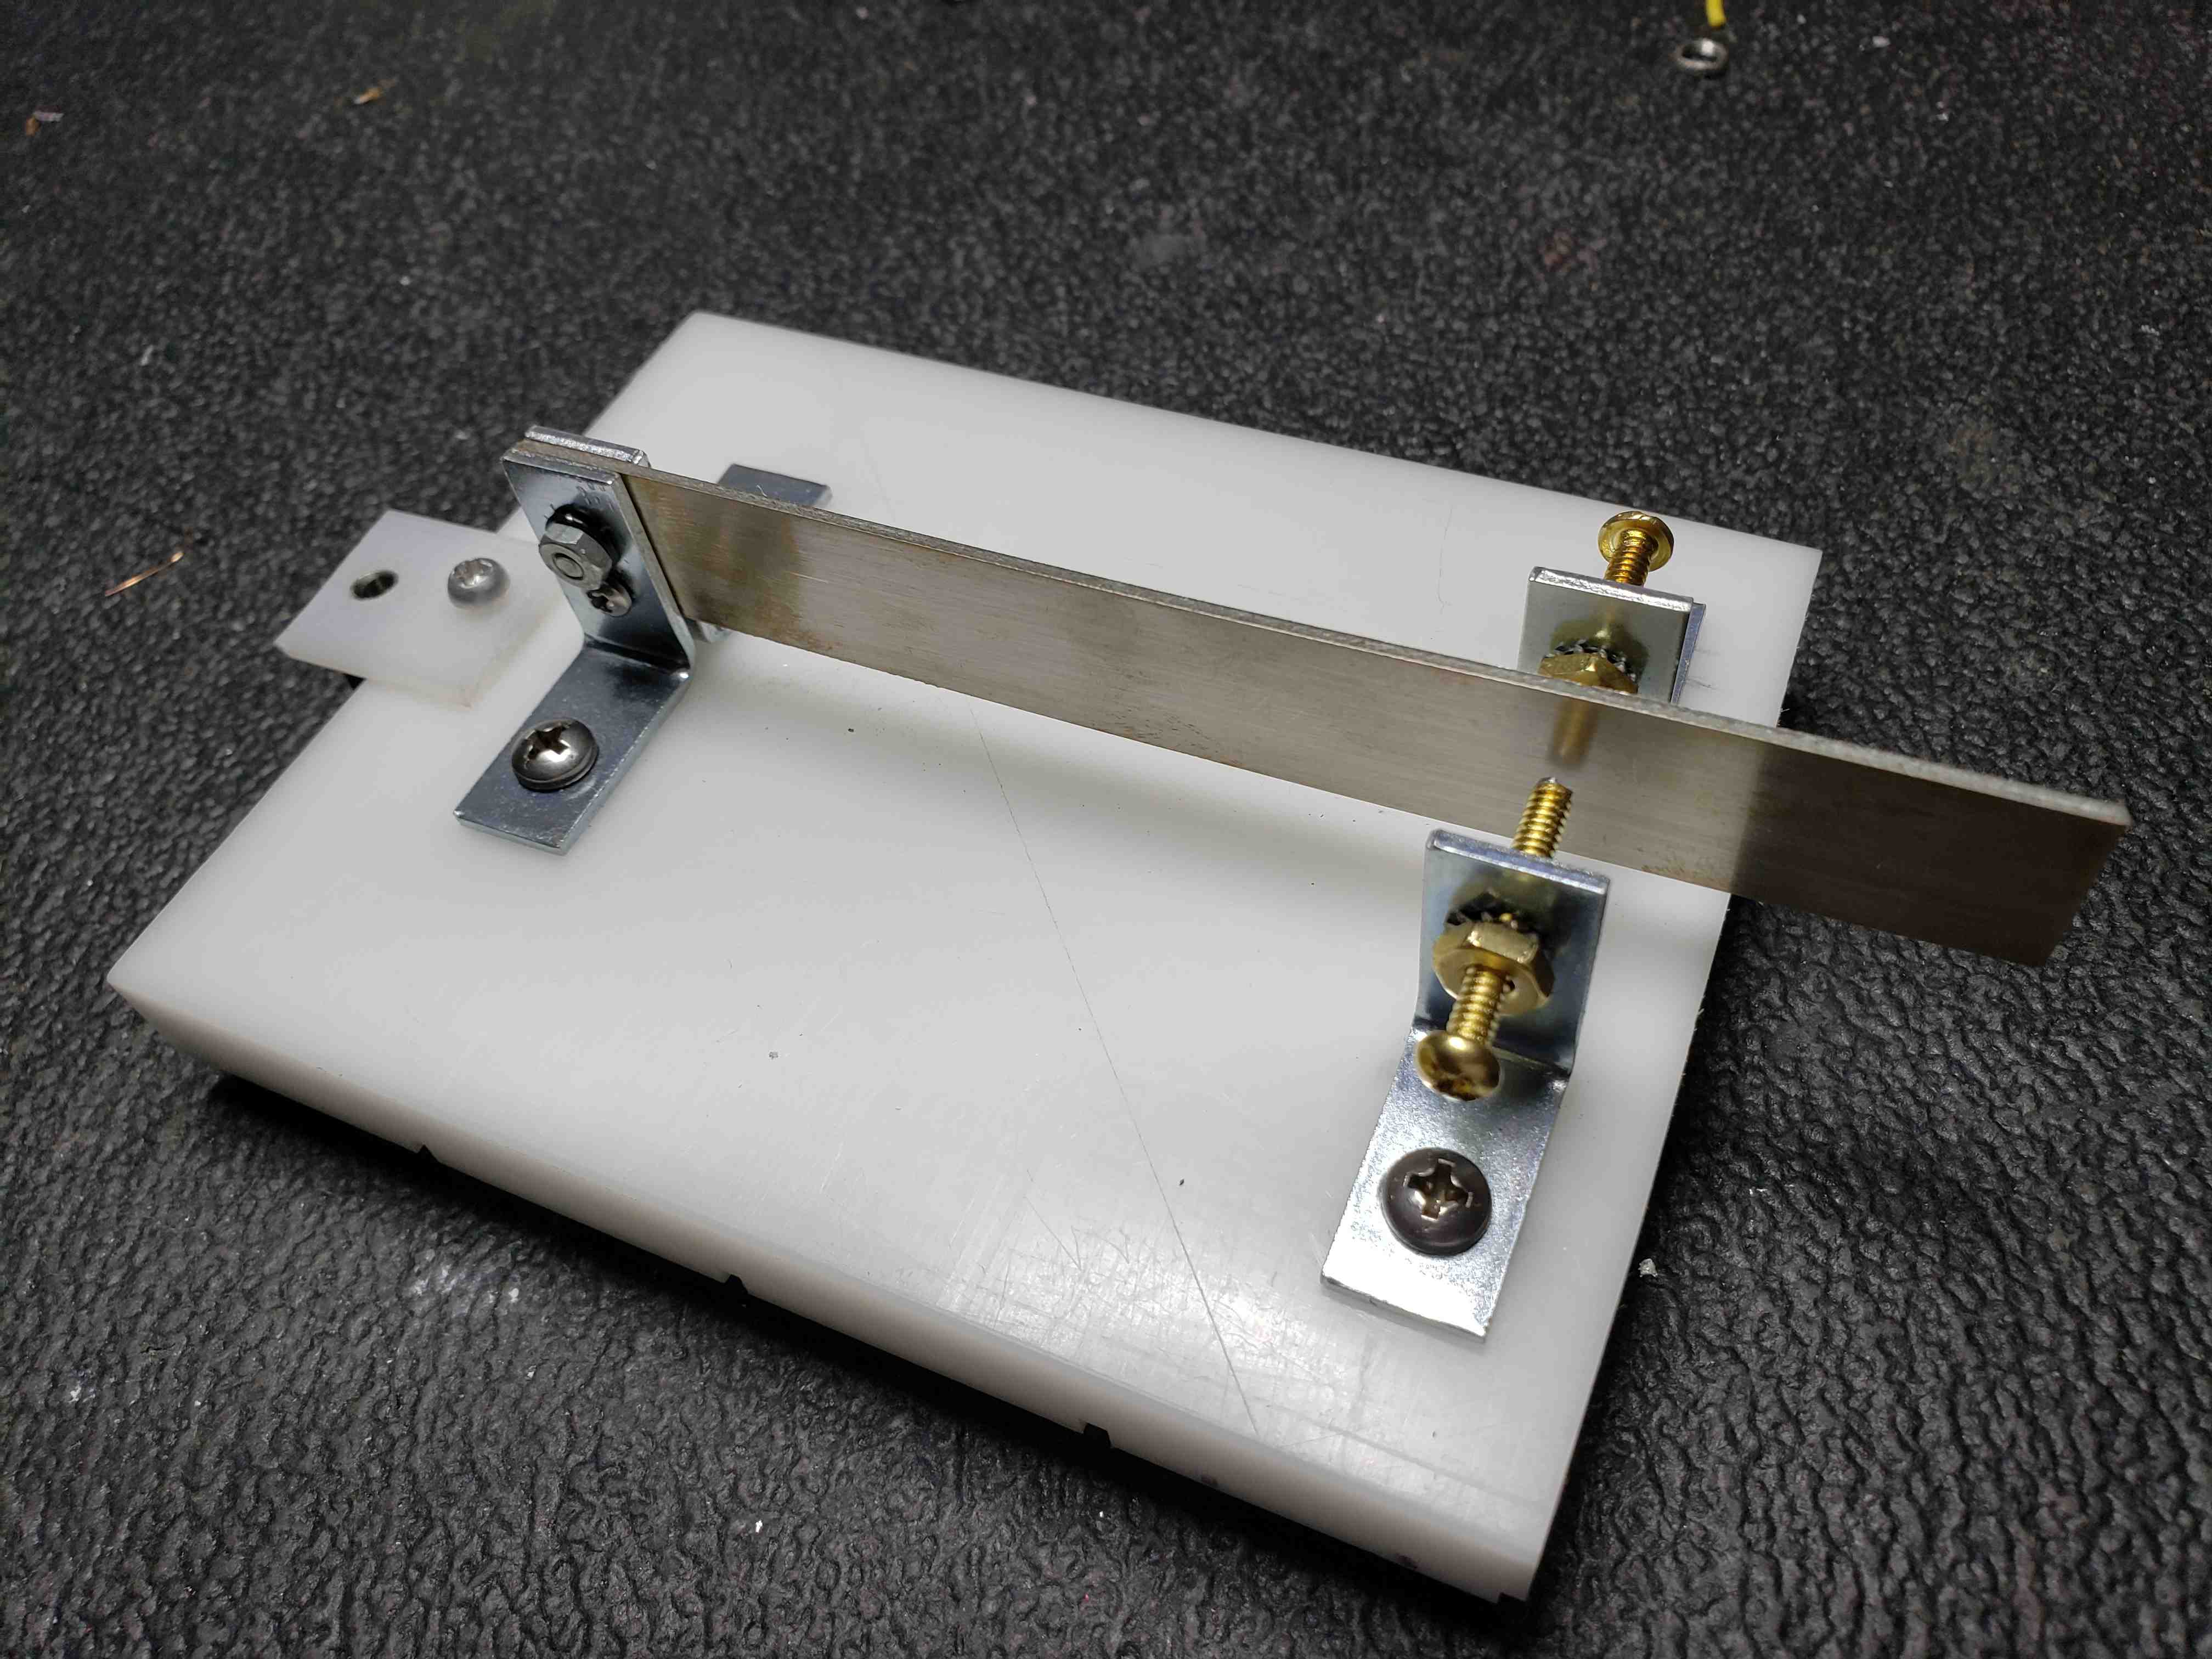
All this took very little time, so I got a little fancy:
-I removed both brass screws and added blobs of silver solder to the end of each
-I removed the paddle and "silvered" it with some silvering compound I'd been given years ago.
-I reassembled the piece.
Voila!!